
How to Install SonarQube in Locally Using Docker (Laravel)
How to Install SonarQube in Locally Using Docker (Laravel)
SonarQube is an open-source platform designed for continuous inspection of code quality to identify and fix code smells, bugs, and security vulnerabilities in software projects. It provides a comprehensive set of tools for static code analysis, which means it assesses the source code without actually executing the program. Developers and teams use SonarQube to ensure that their code adheres to coding standards, follows best practices, and meets predefined quality criteria.
Technology
December 5, 2023
Mobinul Islam Riyadh

Zul Kawsar
Zul Kawser is a tech professional skilled in PHP (Laravel, Codeigniter), Javascript (Vue.js), AWS, and DevOps. With a focus on crafting efficient web solutions, he brings expertise in both backend and frontend development, making him a valuable asset in the ever-evolving tech landscape.

Prerequisites
Make sure Docker is installed on your VM. In this example, Ubuntu 22.04 is used.
Check your Docker version:
docker -vIn this case, the Docker version is 24.0.7
Installation Steps
1. Run SonarQube container:
docker run -d --name sonarqube -e SONAR_ES_BOOTSTRAP_CHECKS_DISABLE=true -p 9001:9000 sonarqube:latest
This step is only needed the first time.

2. Check the running containers:
docker ps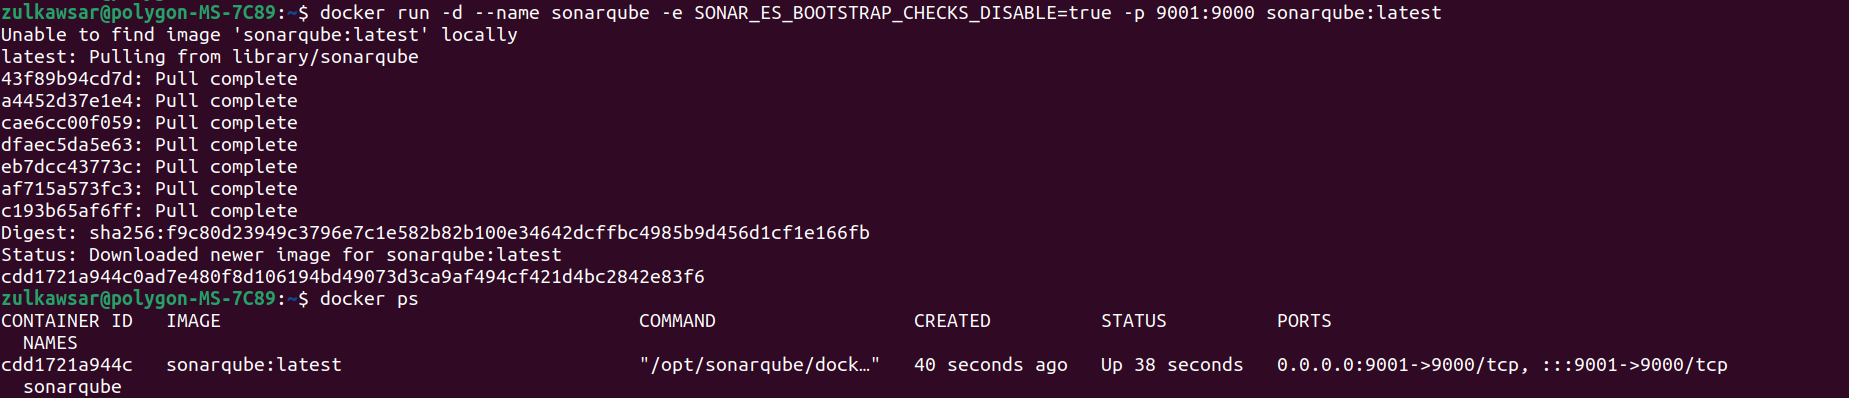
3. Open your browser and navigate to http://localhost:9001/
Congratulation! You have successfully install
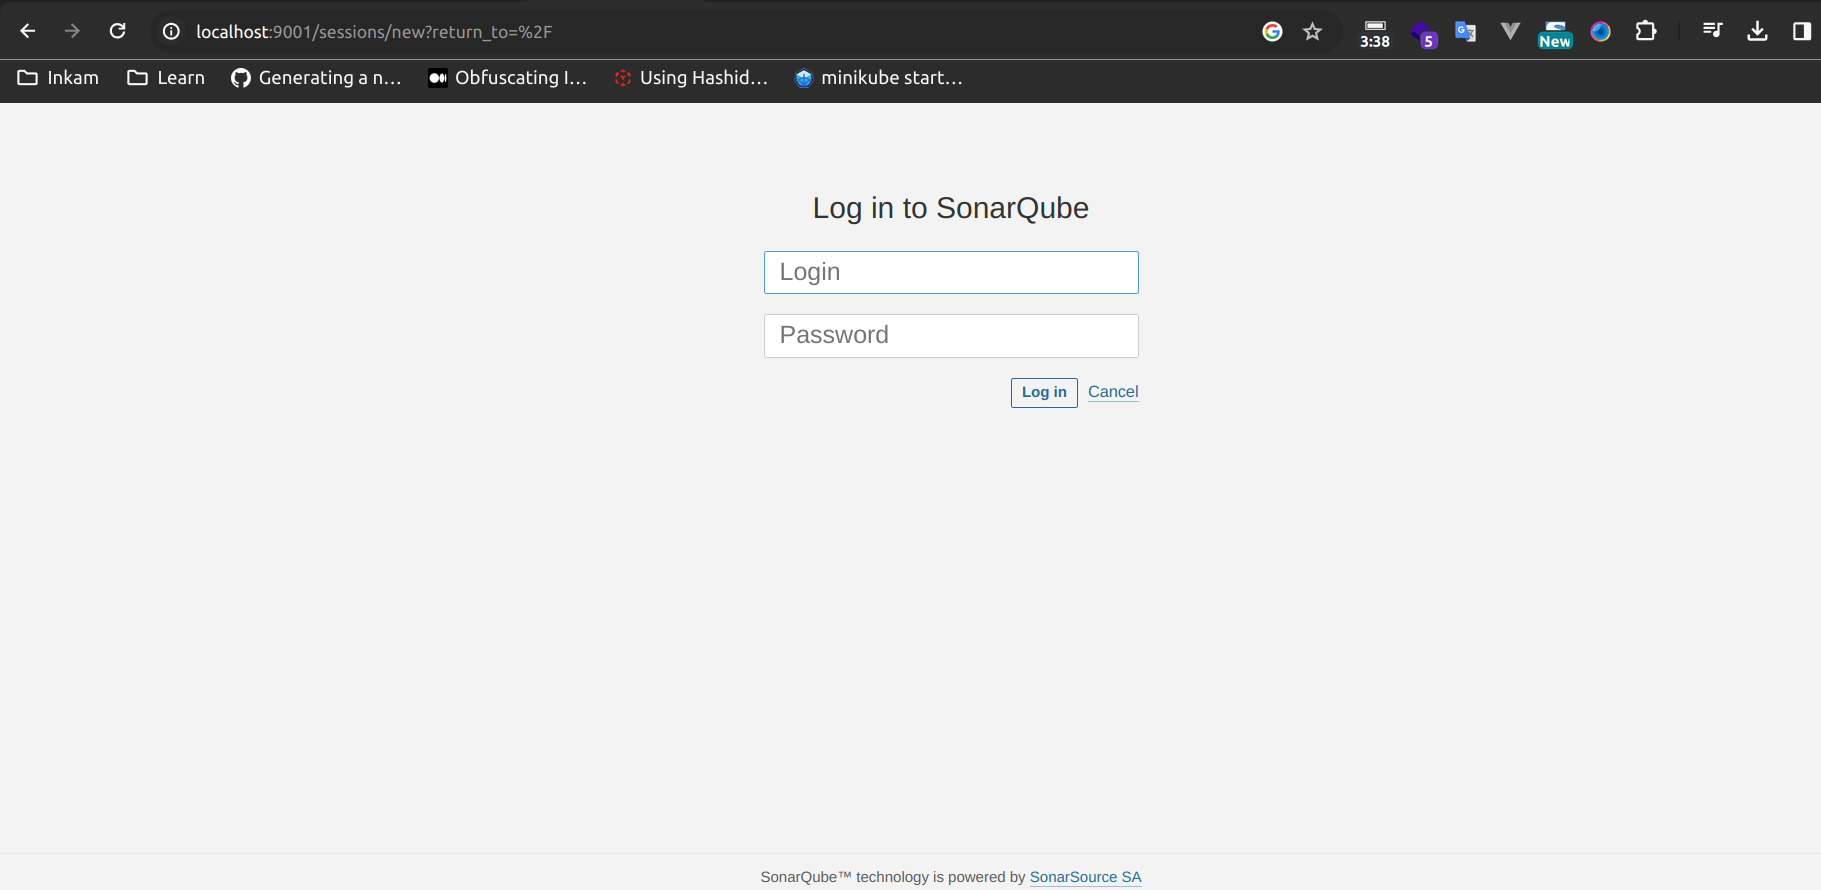
4. Login using the default credentials:
Username: admin
Password: admin
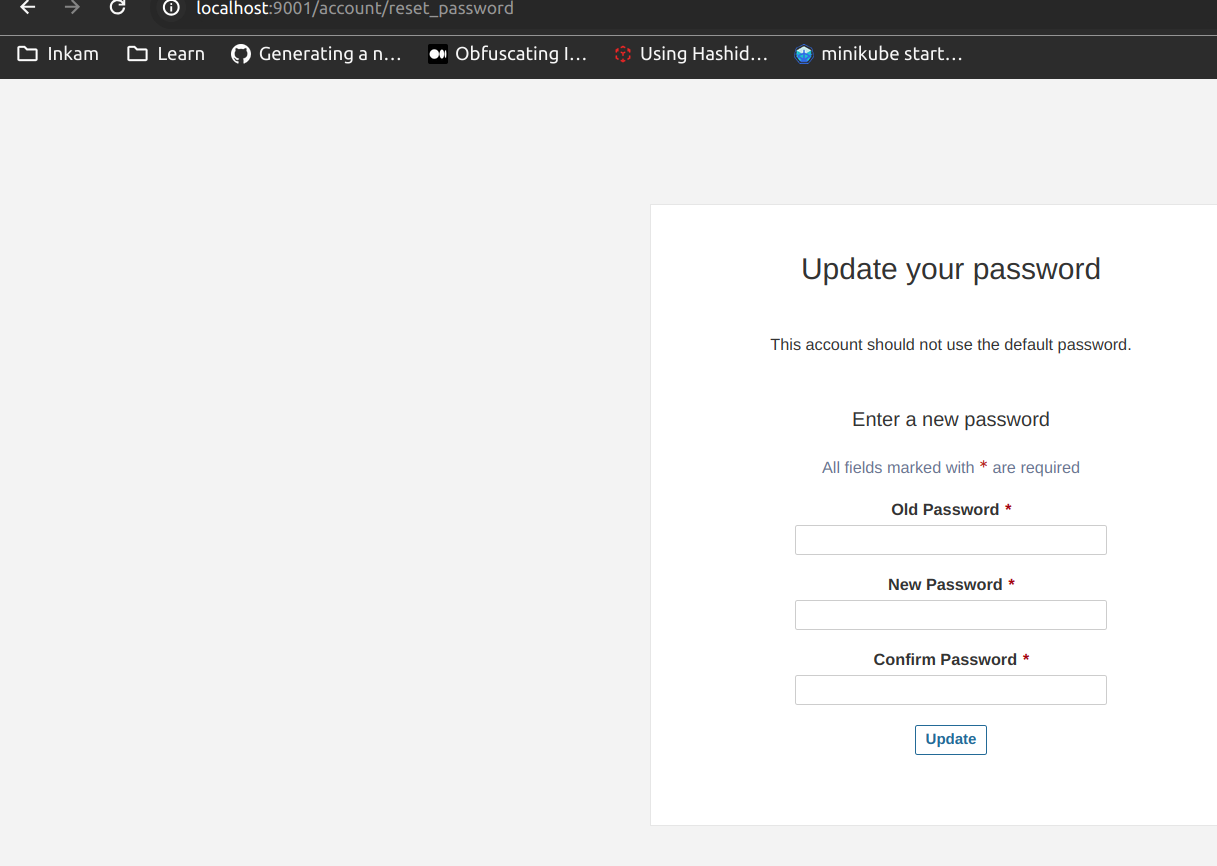
5. Change your password for security:
SonarQube Dashboard
Explore the SonarQube dashboard with various options:
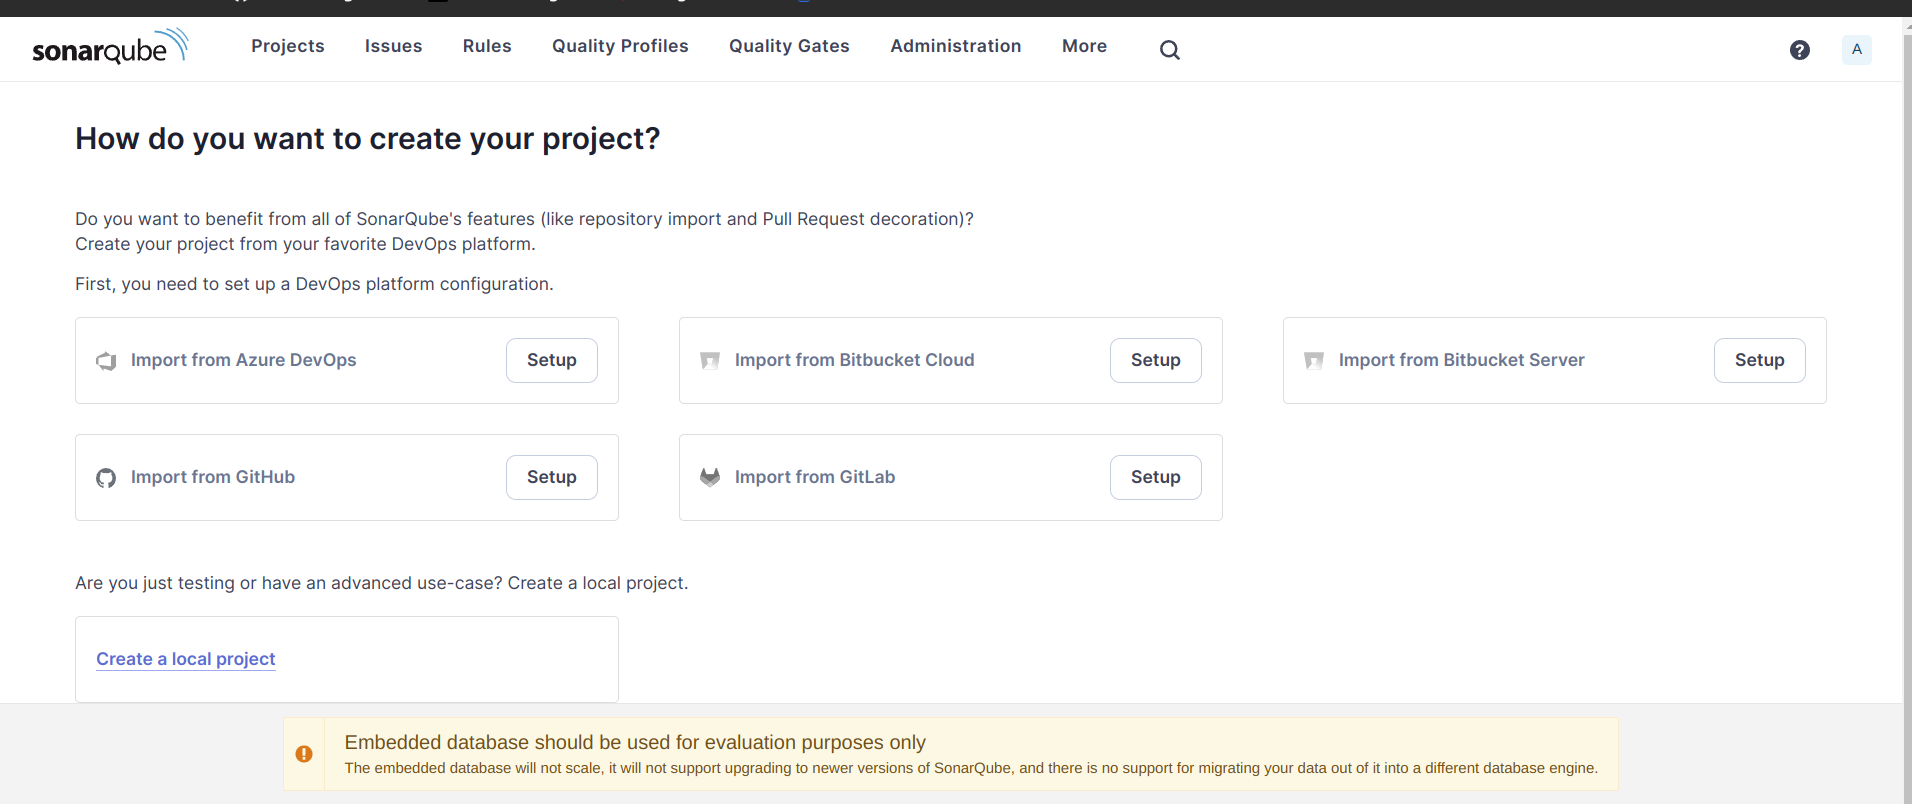
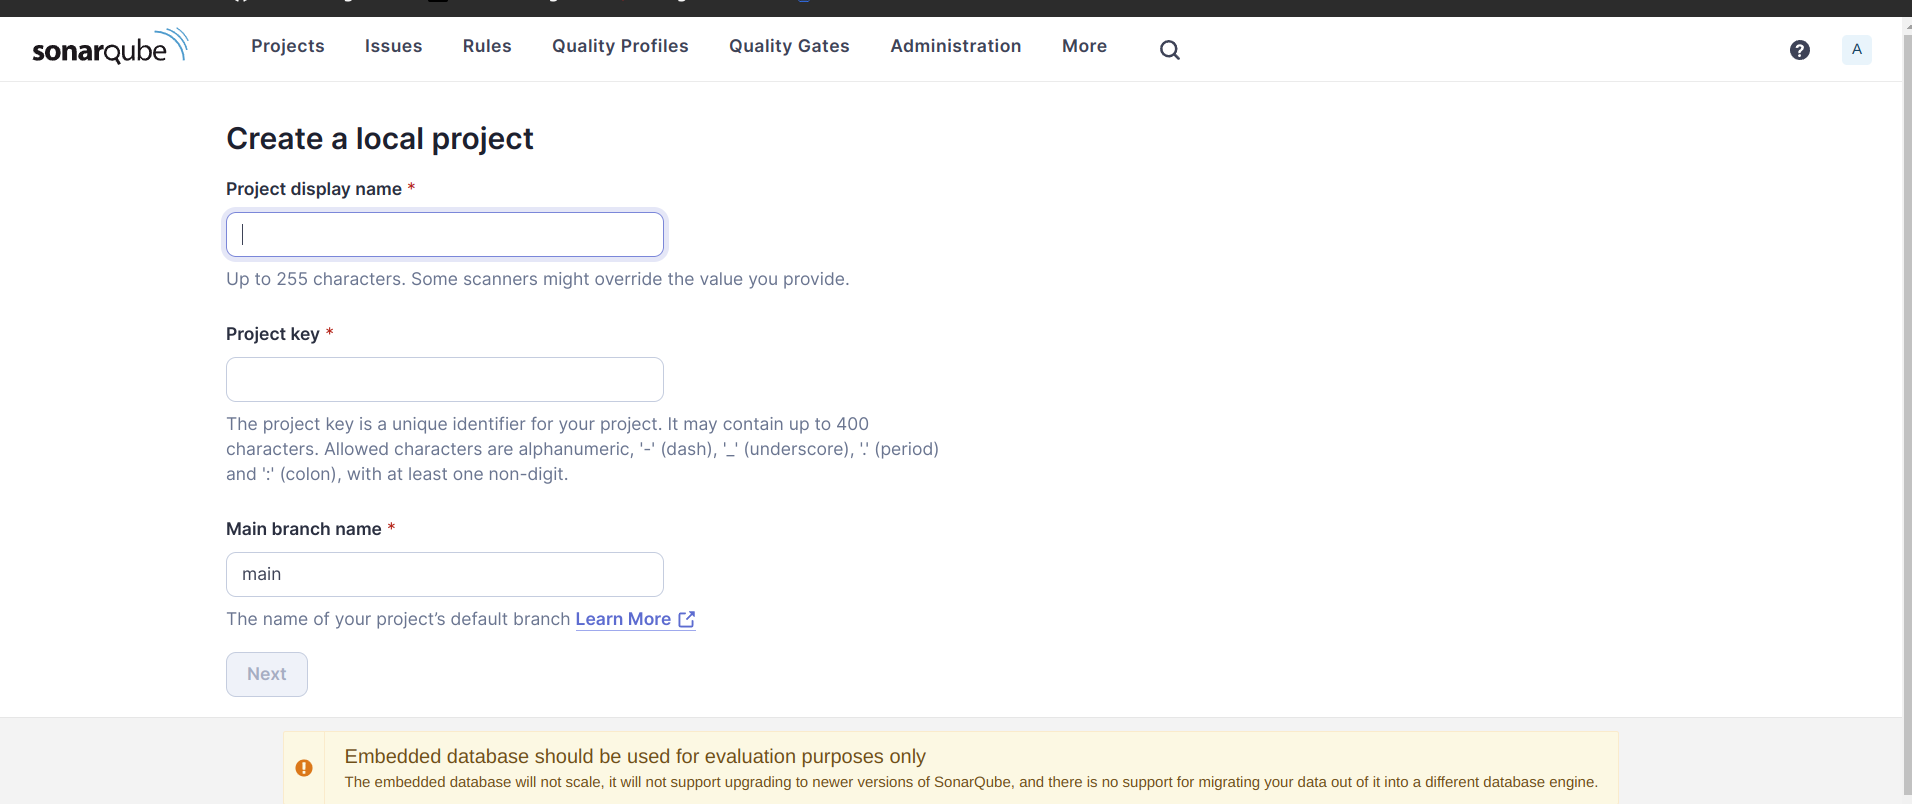
Create a Local Project
Here is lots of option.
1. Click on “Create Project” and provide the project name and key.
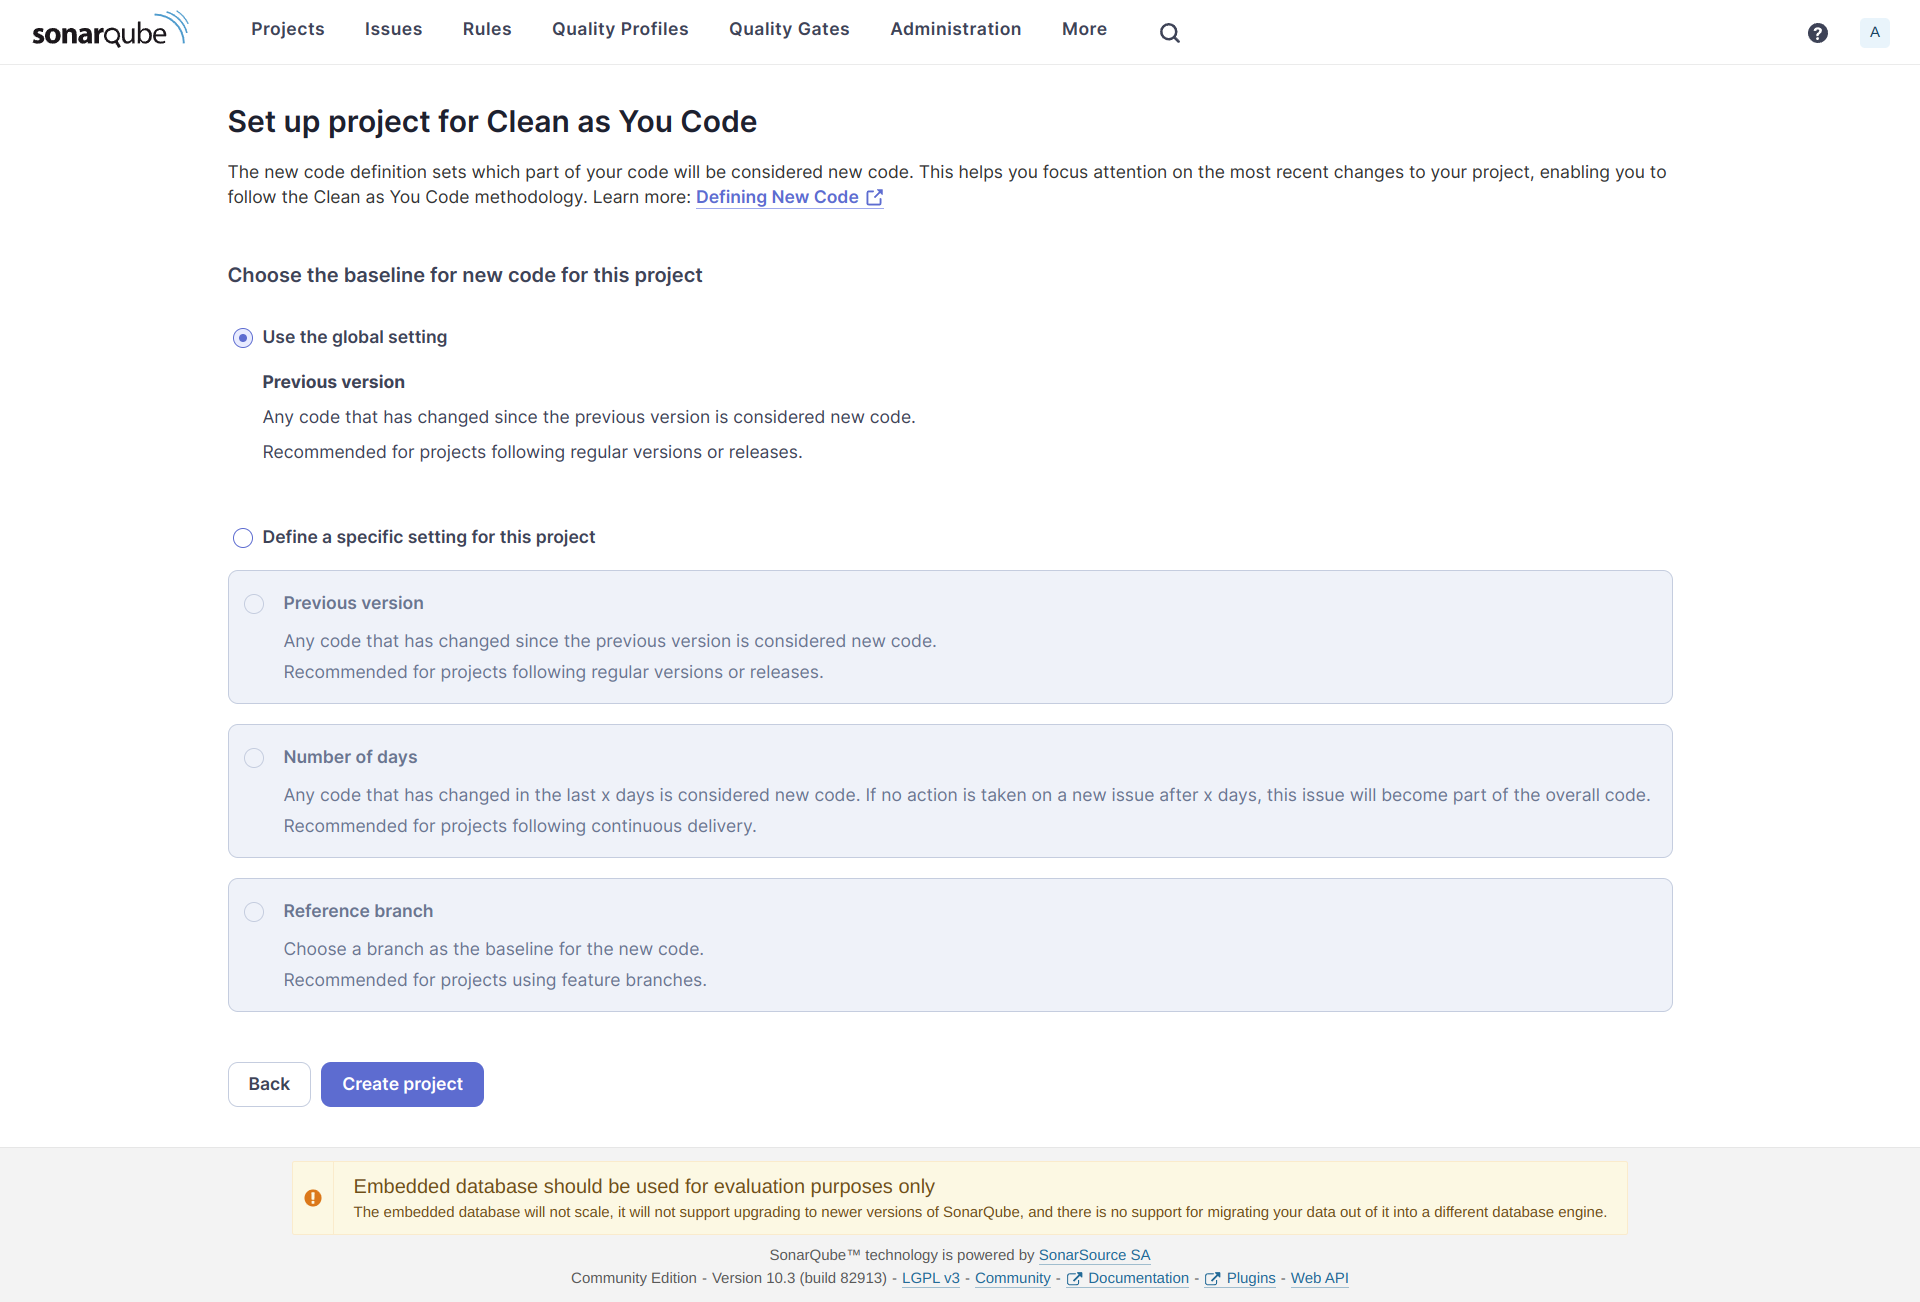
2. Use global settings and click on “Create Project.”
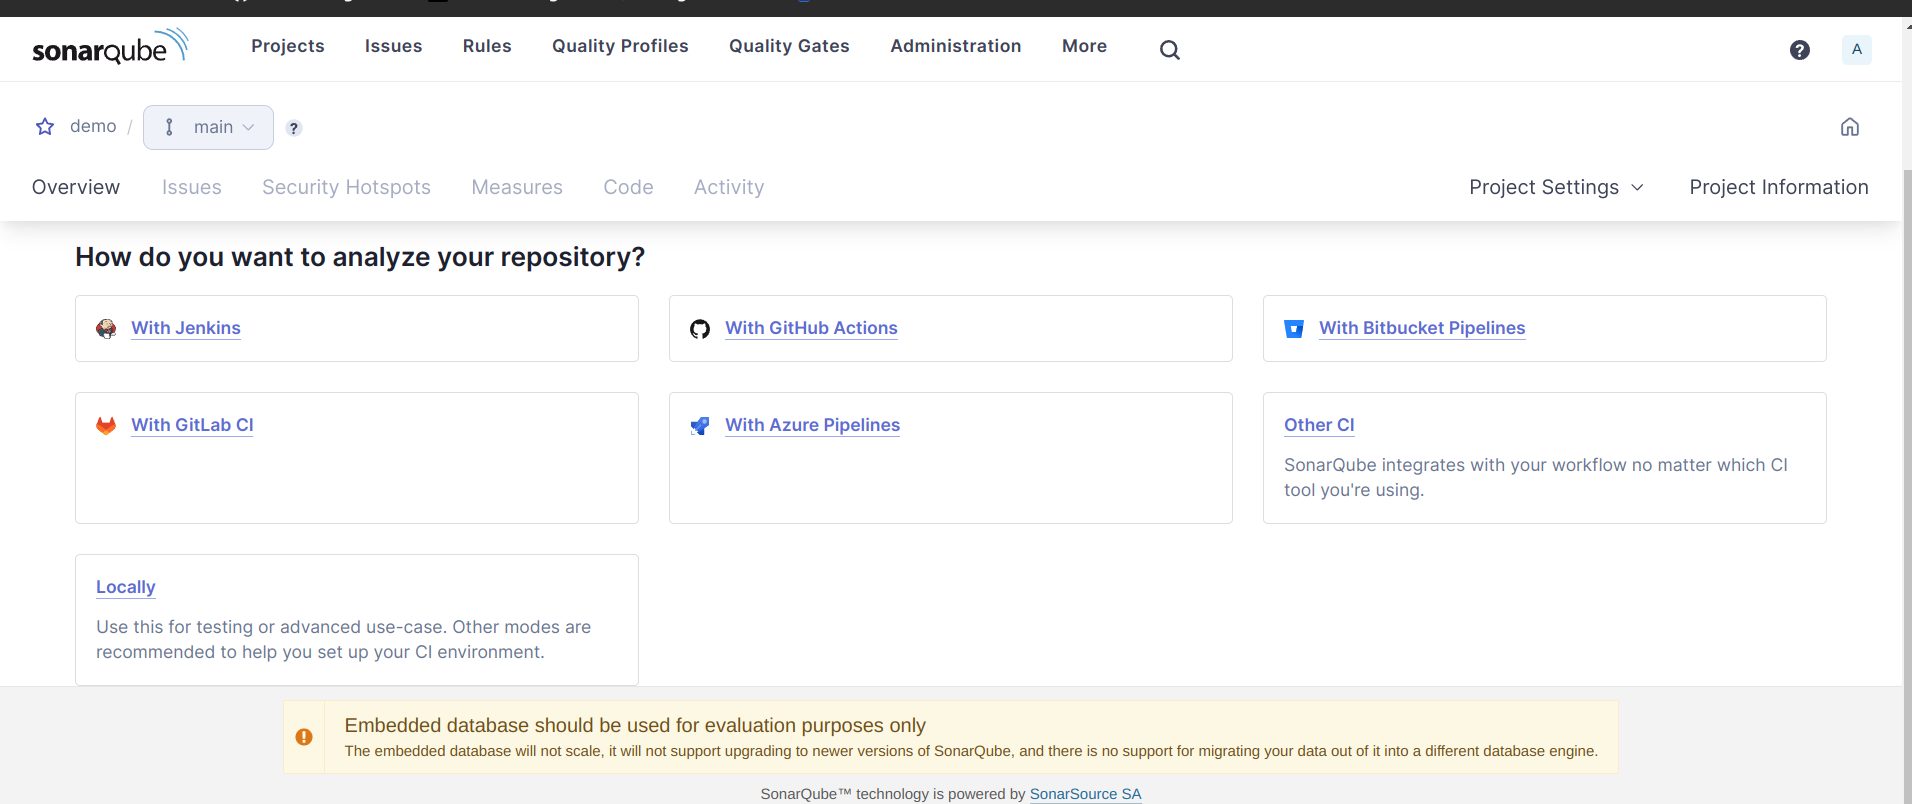
3. Click on “Locally”
4. Click “Generate” button to generate token.
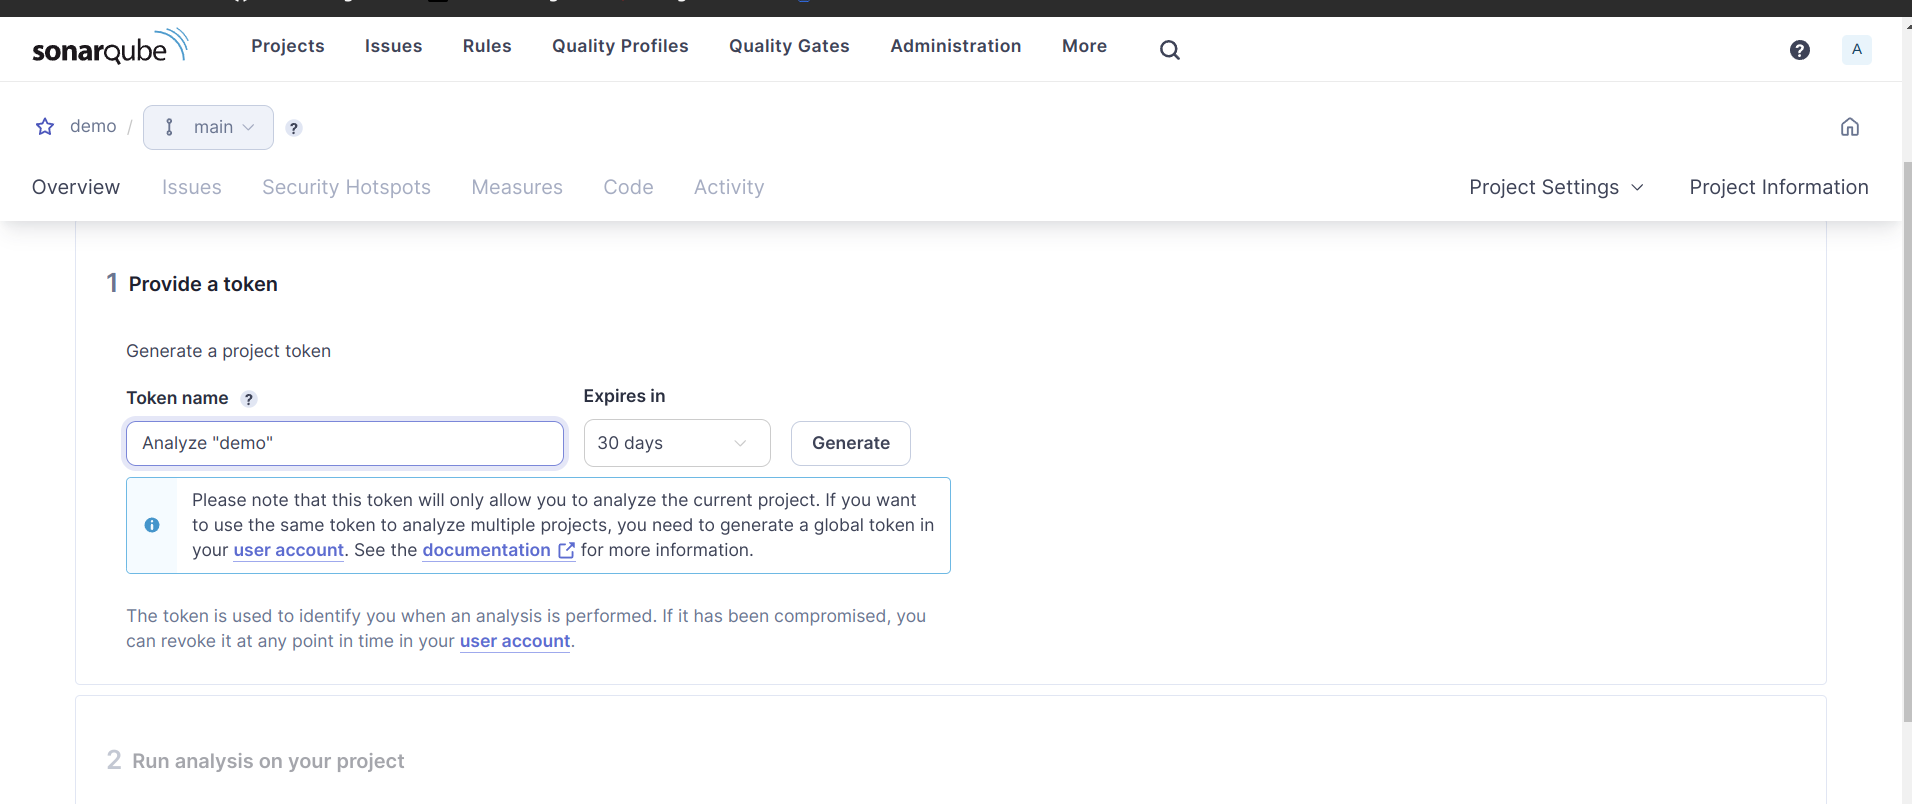
5. Click on “Continue” button
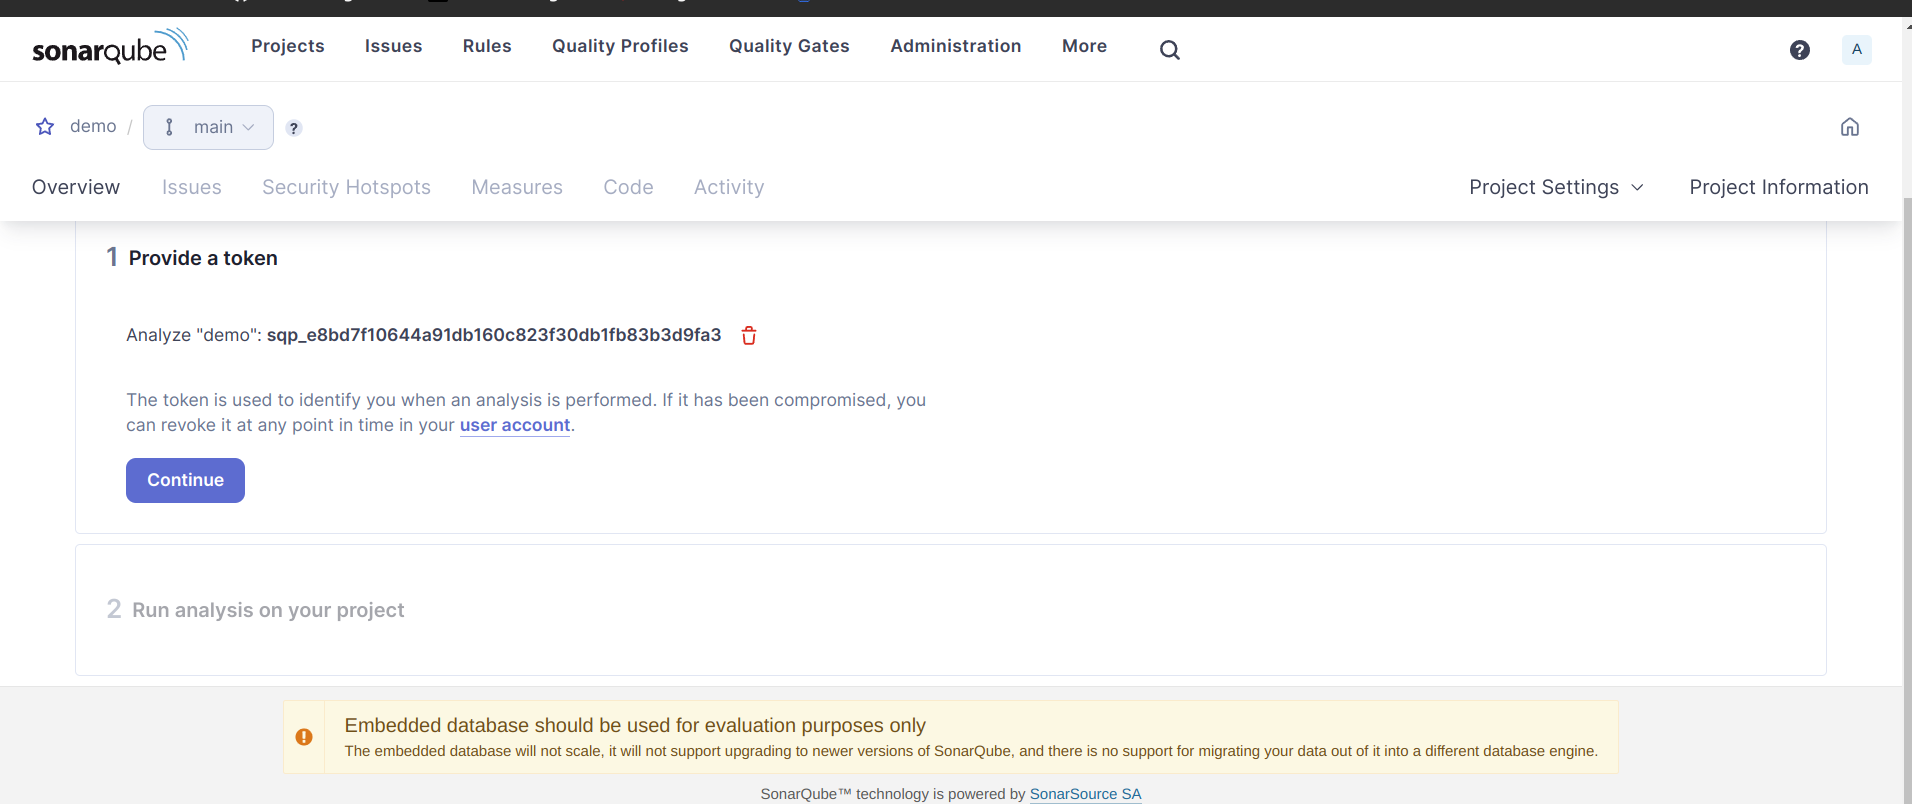
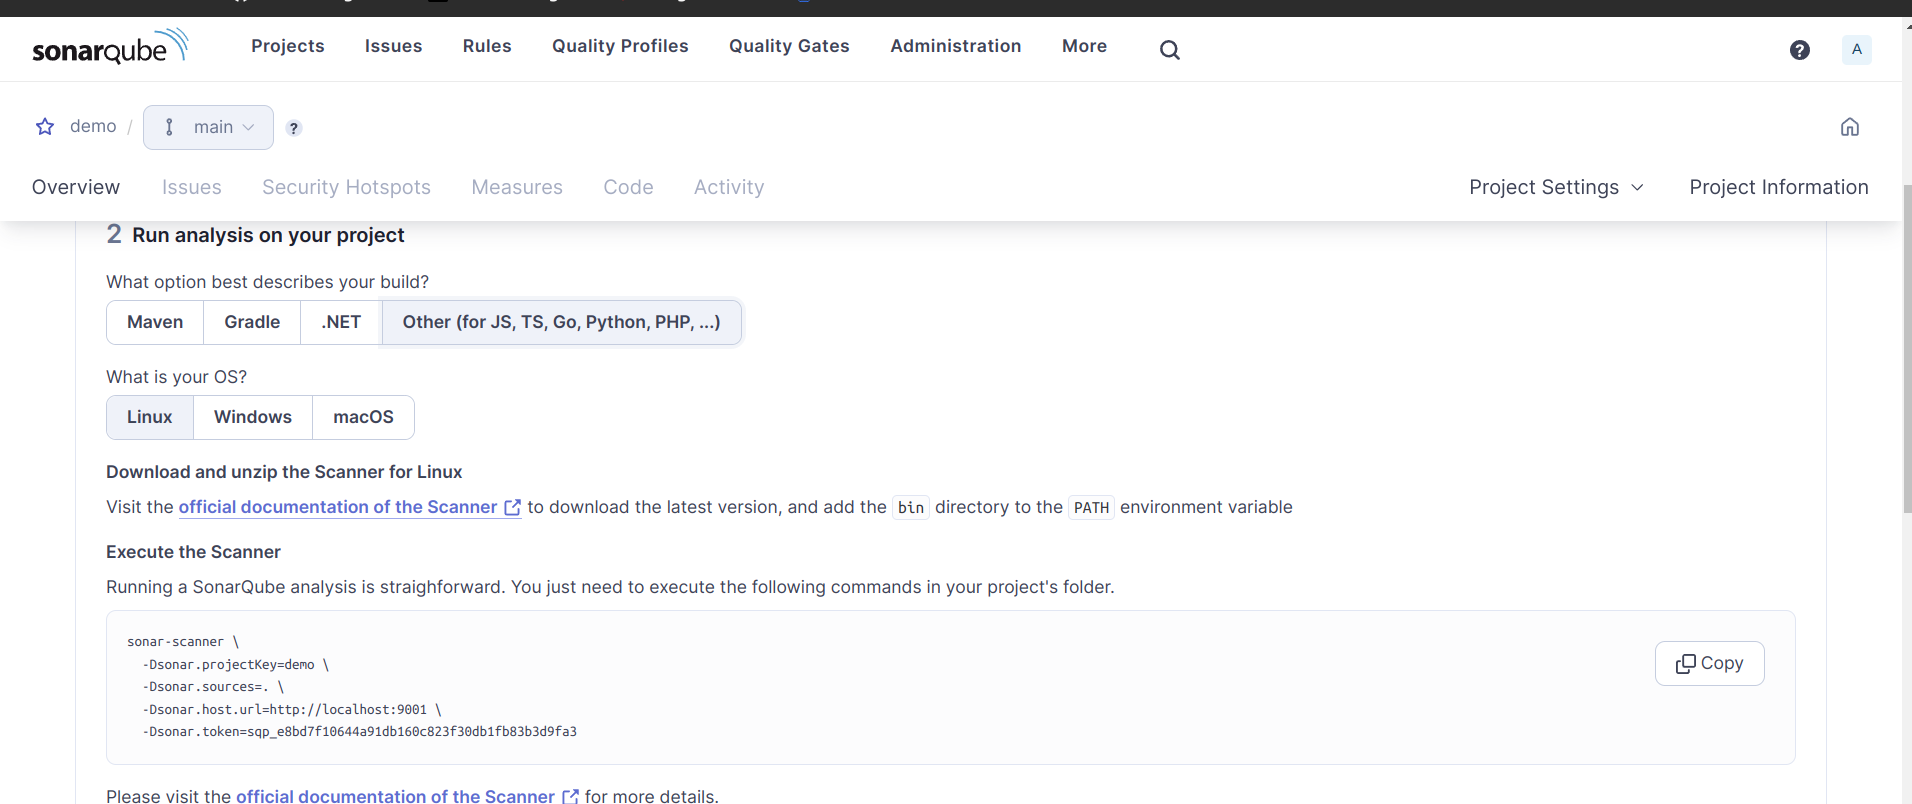
6. choose “Other” option
1. Install Java:
Make sure Java is installed on your system. You can install OpenJDK or Oracle JDK. Here’s an example command to install OpenJDK on Ubuntu:
sudo apt-get update
sudo apt-get install openjdk-11-jdk
Adjust the version number based on your requirements.
2. Set JAVA_HOME: Set the JAVA_HOME environment variable to point to your Java installation. Edit your shell profile file (e.g., ~/.bashrc, ~/.bash_profile, or ~/.zshrc) and add the following line:
export JAVA_HOME=/usr/lib/jvm/java-11-openjdk-amd64Make sure to replace the path with the correct one based on your Java installation.
Then, apply the changes:
source ~/.bashrc
3. Verify Java Installation: Run the following commands to verify that Java is installed and the JAVA_HOME variable is set:
java -versionThis should display information about the installed Java version.
echo $JAVA_HOME
This should print the path set in the JAVA_HOME variable.
Installing Sonar Scanner
Okay! Now we need to install sonar-scanner.
Follow these steps or refer to SonarQube Scanner documentation:
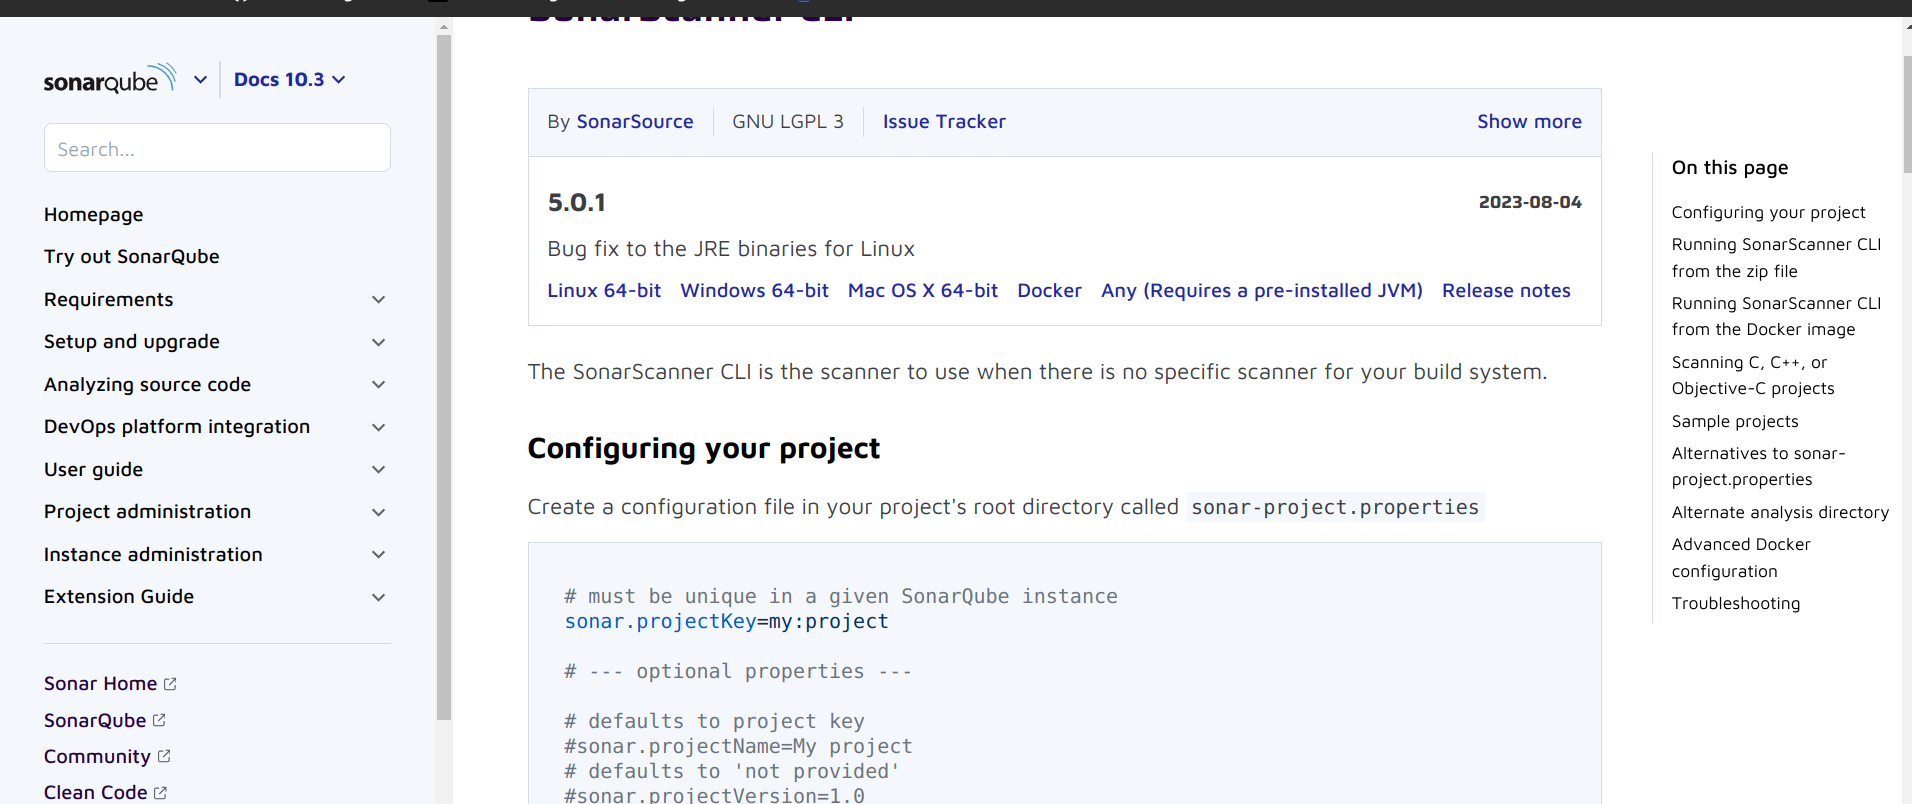
Download Linux 64-bit or you can do by cmd
sudo mkdir /opt/sonar-scanner
sudo wget https://binaries.sonarsource.com/Distribution/sonar-scanner-cli/sonar-scanner-cli-4.6.2.2472.zip -P /opt/sonar-scanner
sudo unzip /opt/sonar-scanner/sonar-scanner-cli-4.6.2.2472.zip -d /opt/sonar-scanner
Okay! Now we need to install sonar-scanner.
Follow these steps or refer to SonarQube Scanner documentation:
Download Linux 64-bit or you can do by cmd
sudo mkdir /opt/sonar-scanner
sudo wget https://binaries.sonarsource.com/Distribution/sonar-scanner-cli/sonar-scanner-cli-4.6.2.2472.zip -P /opt/sonar-scanner
sudo unzip /opt/sonar-scanner/sonar-scanner-cli-4.6.2.2472.zip -d /opt/sonar-scanner
1. This creates the /opt/sonar-scanner directory and extracts the SonarQube Scanner into it.2. Configure Environment Variables:
- Add the SonarQube Scanner executable to your system’s PATH. Edit your shell profile file (e.g., ~/.bashrc, ~/.bash_profile, or ~/.zshrc) and add the following line:
export PATH=$PATH:/opt/sonar-scanner/sonar-scanner-4.6.2.2472/binMake sure to adjust the version and path based on your installation.
- To apply the changes to the current session, run:
source ~/.bashrc
3. Permissions:Confirm that the sonar-scanner executable has the necessary execute permissions. You can use the following command:
chmod +x /etc/sonarqube-scanner/sonar-scanner-4.6.2.2472/bin/sonar-scanner
4. Verify Installation:
- Open a new terminal window and run the following command to verify that the SonarQube Scanner is installed and available:
sonar-scanner -vThis command should display the version information of the installed SonarQube Scanner.
Now, you have installed the SonarQube Scanner in the /opt/sonar-scanner directory. You can use it to analyze your projects and send the results to a SonarQube server.
Yes! We almost done
Configuring your project
Create a configuration file in your project’s root directory called sonar-project.properties
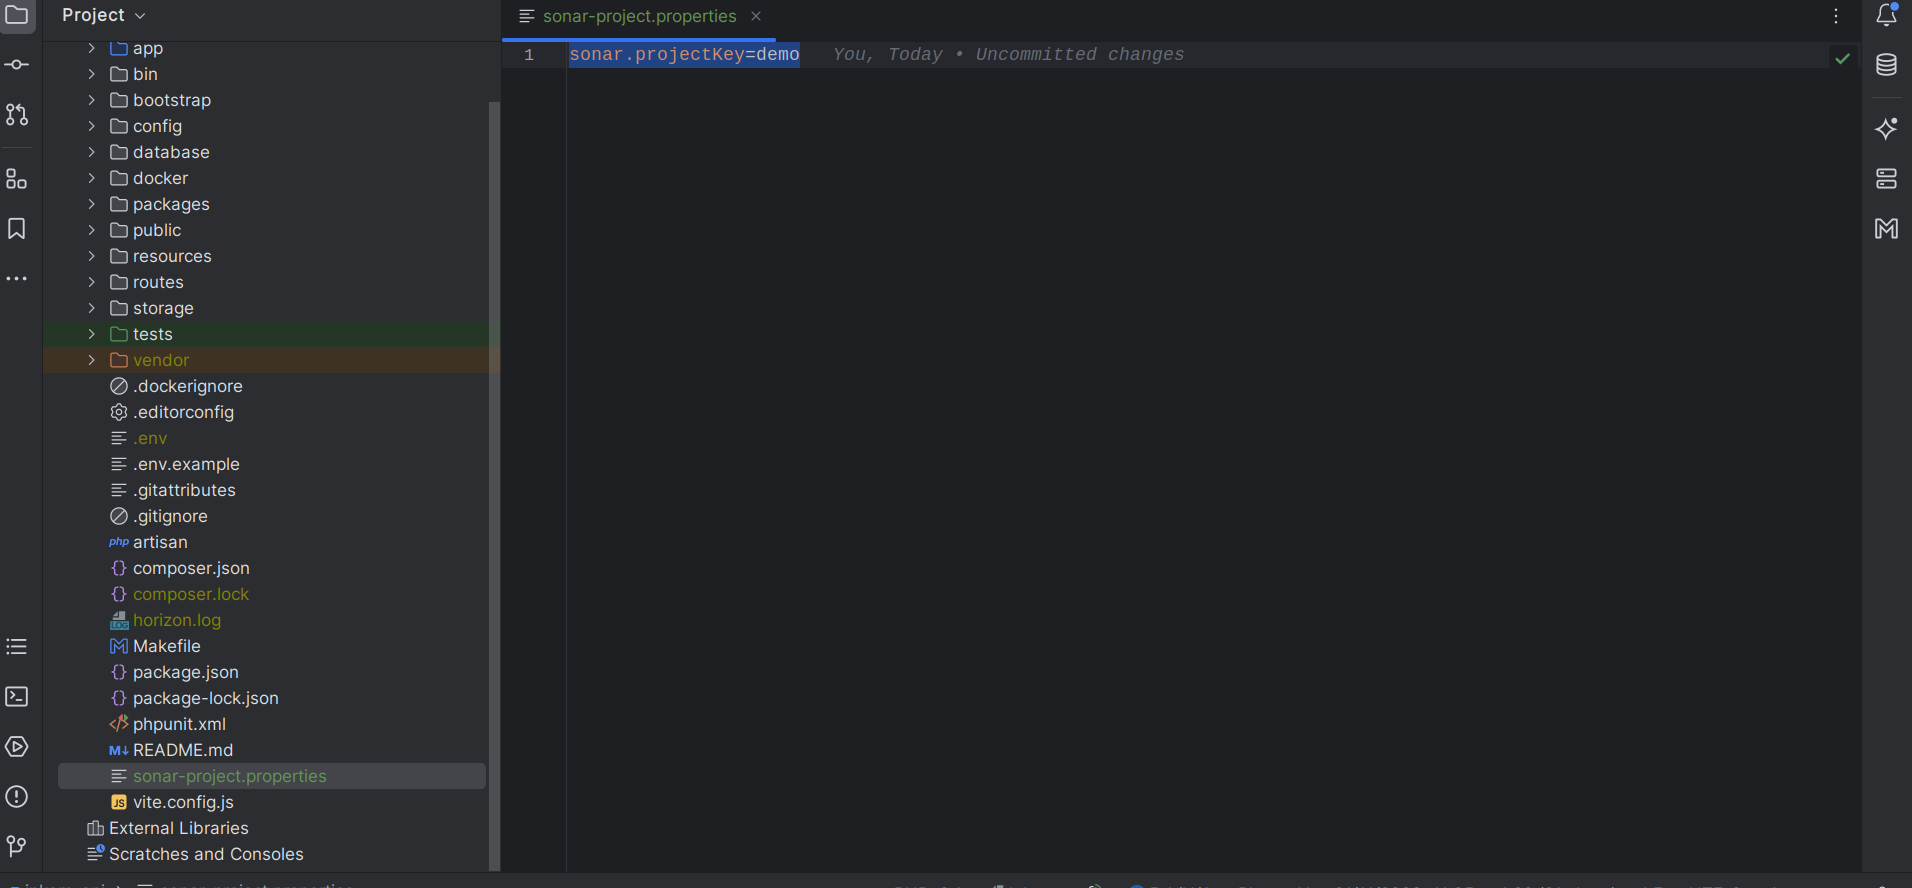
set the sonar.projectKey=demo Replace “demo” with your project key and adjust the token accordingly.
Copy the Execute code
Now go to your project root directory and run. In my case
sonar-scanner \
  -Dsonar.projectKey=demo \
  -Dsonar.sources=. \
  -Dsonar.host.url=http://localhost:9001 \
  -Dsonar.token=sqp_e8bd7f10644a91db160c823f30db1fb83b3d9fa3
Copy the Execute Code from the
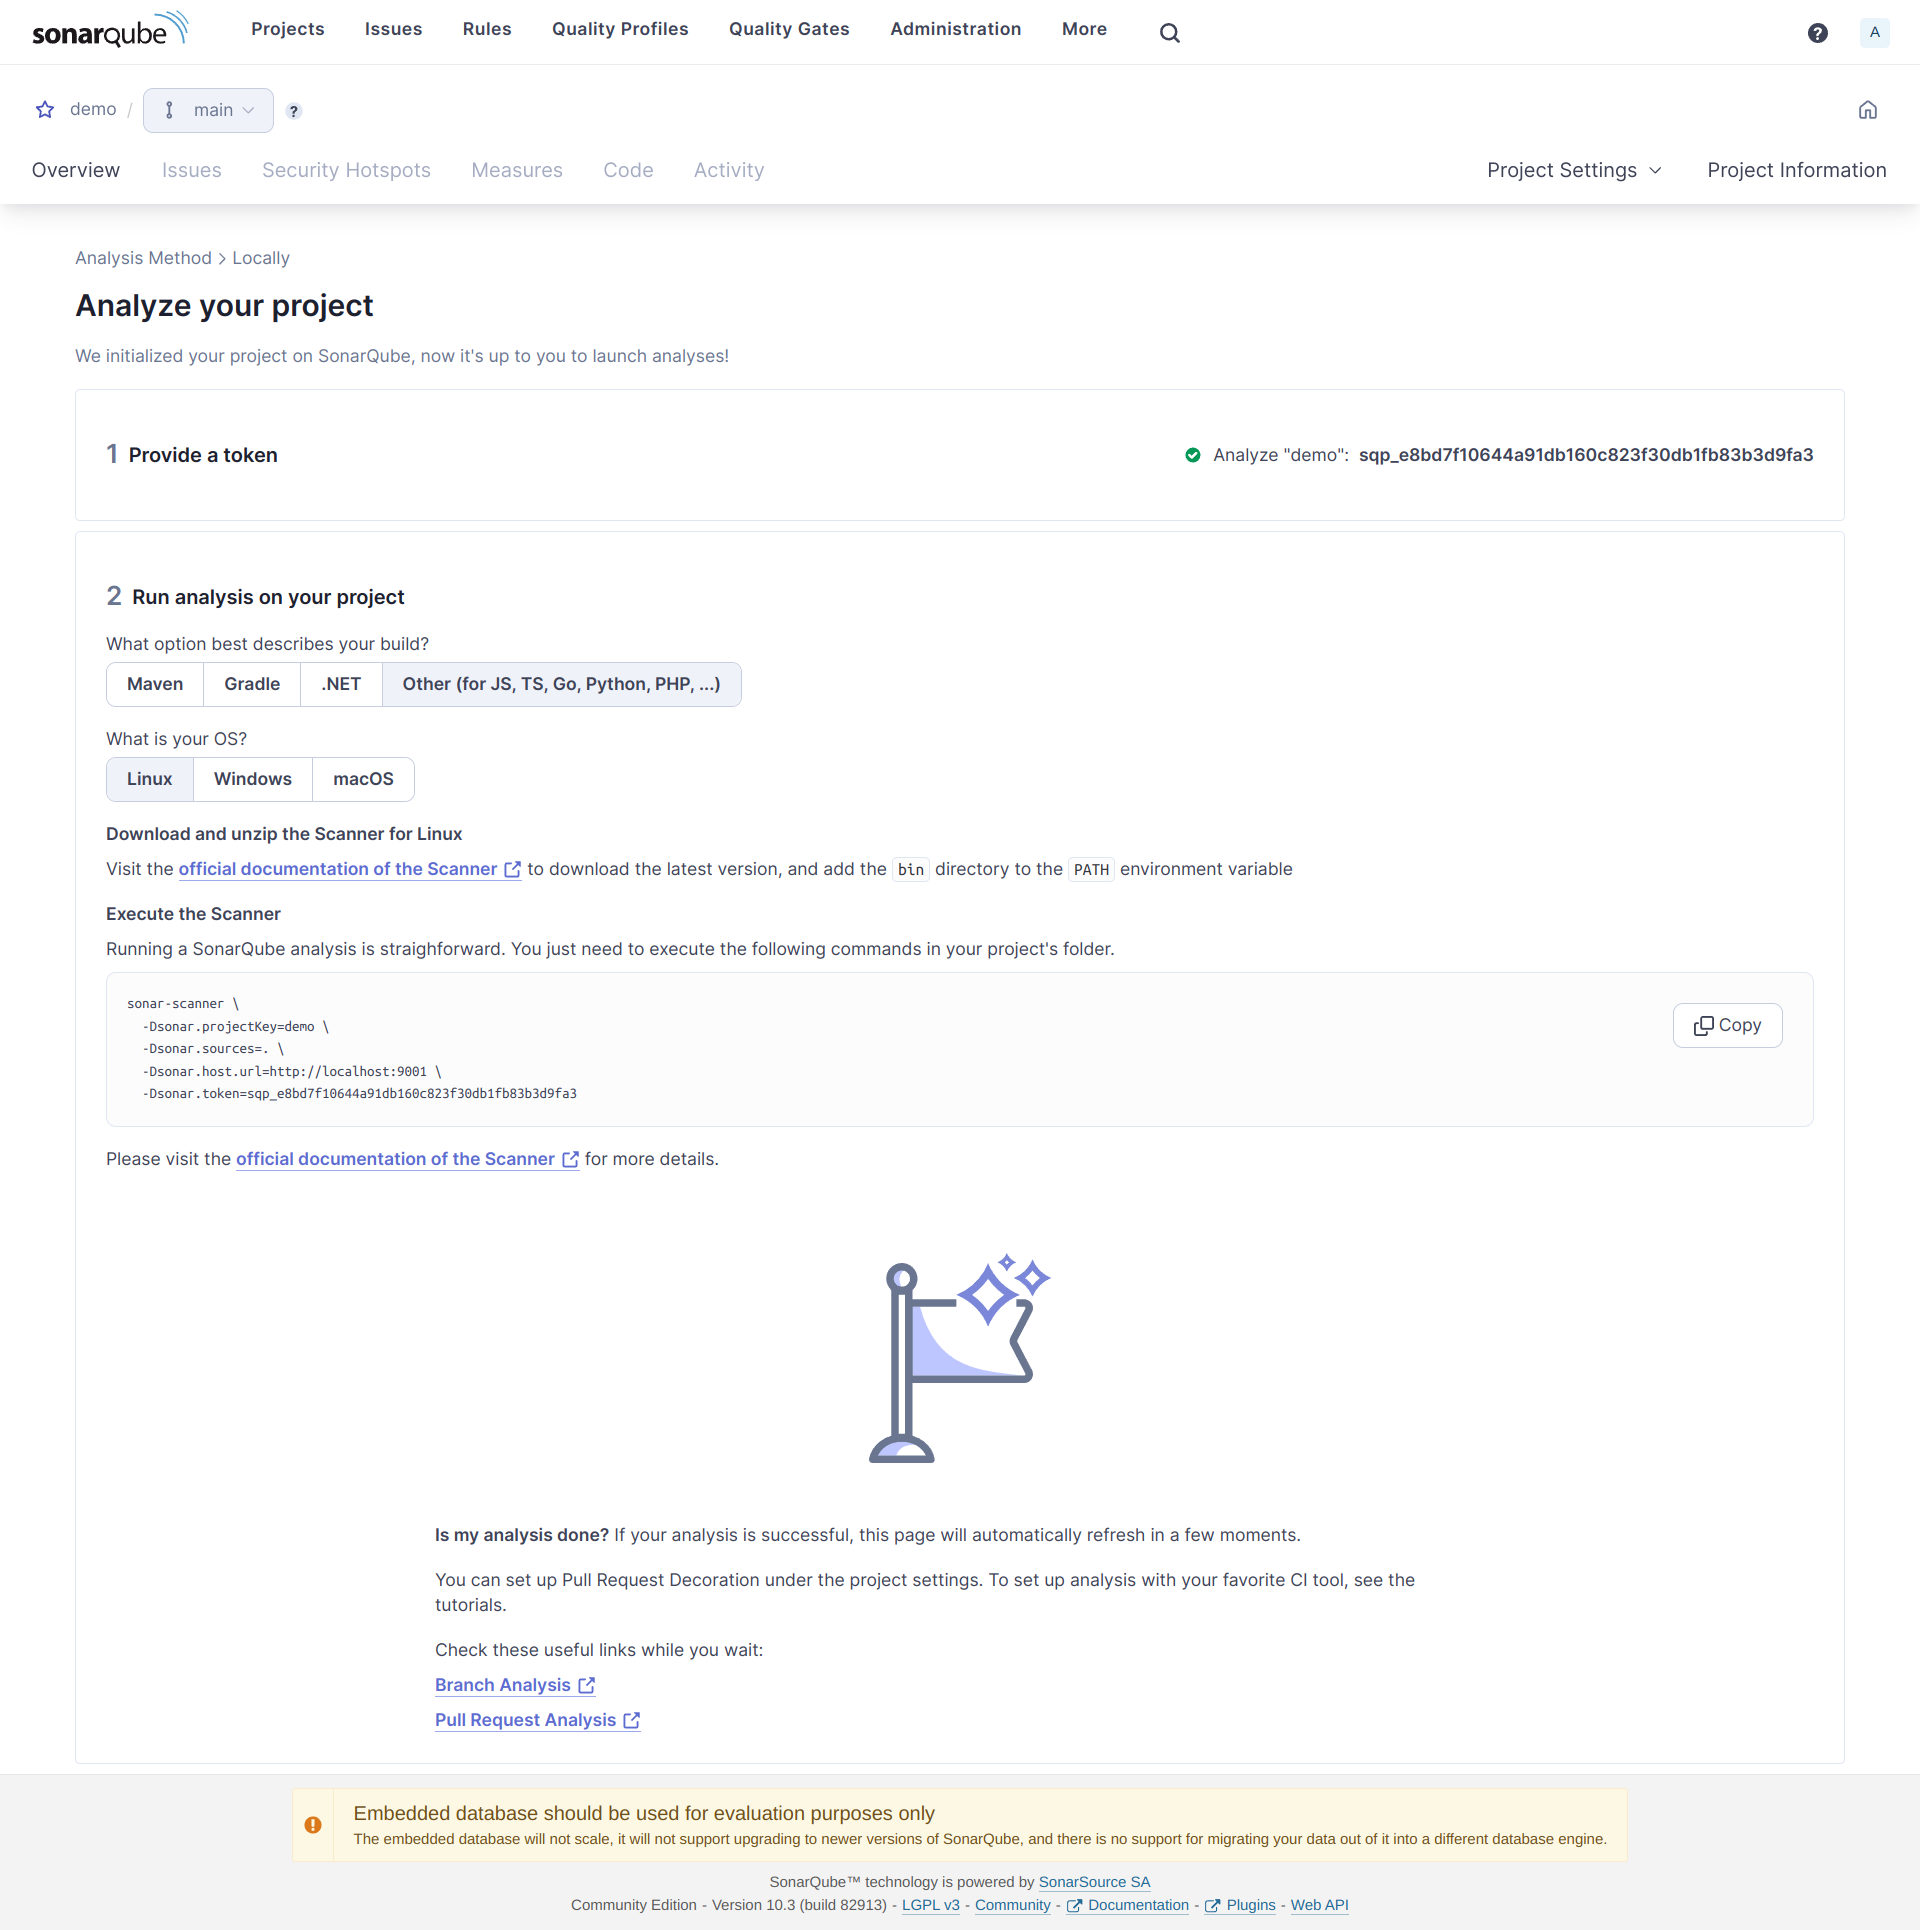
paste and hit enter
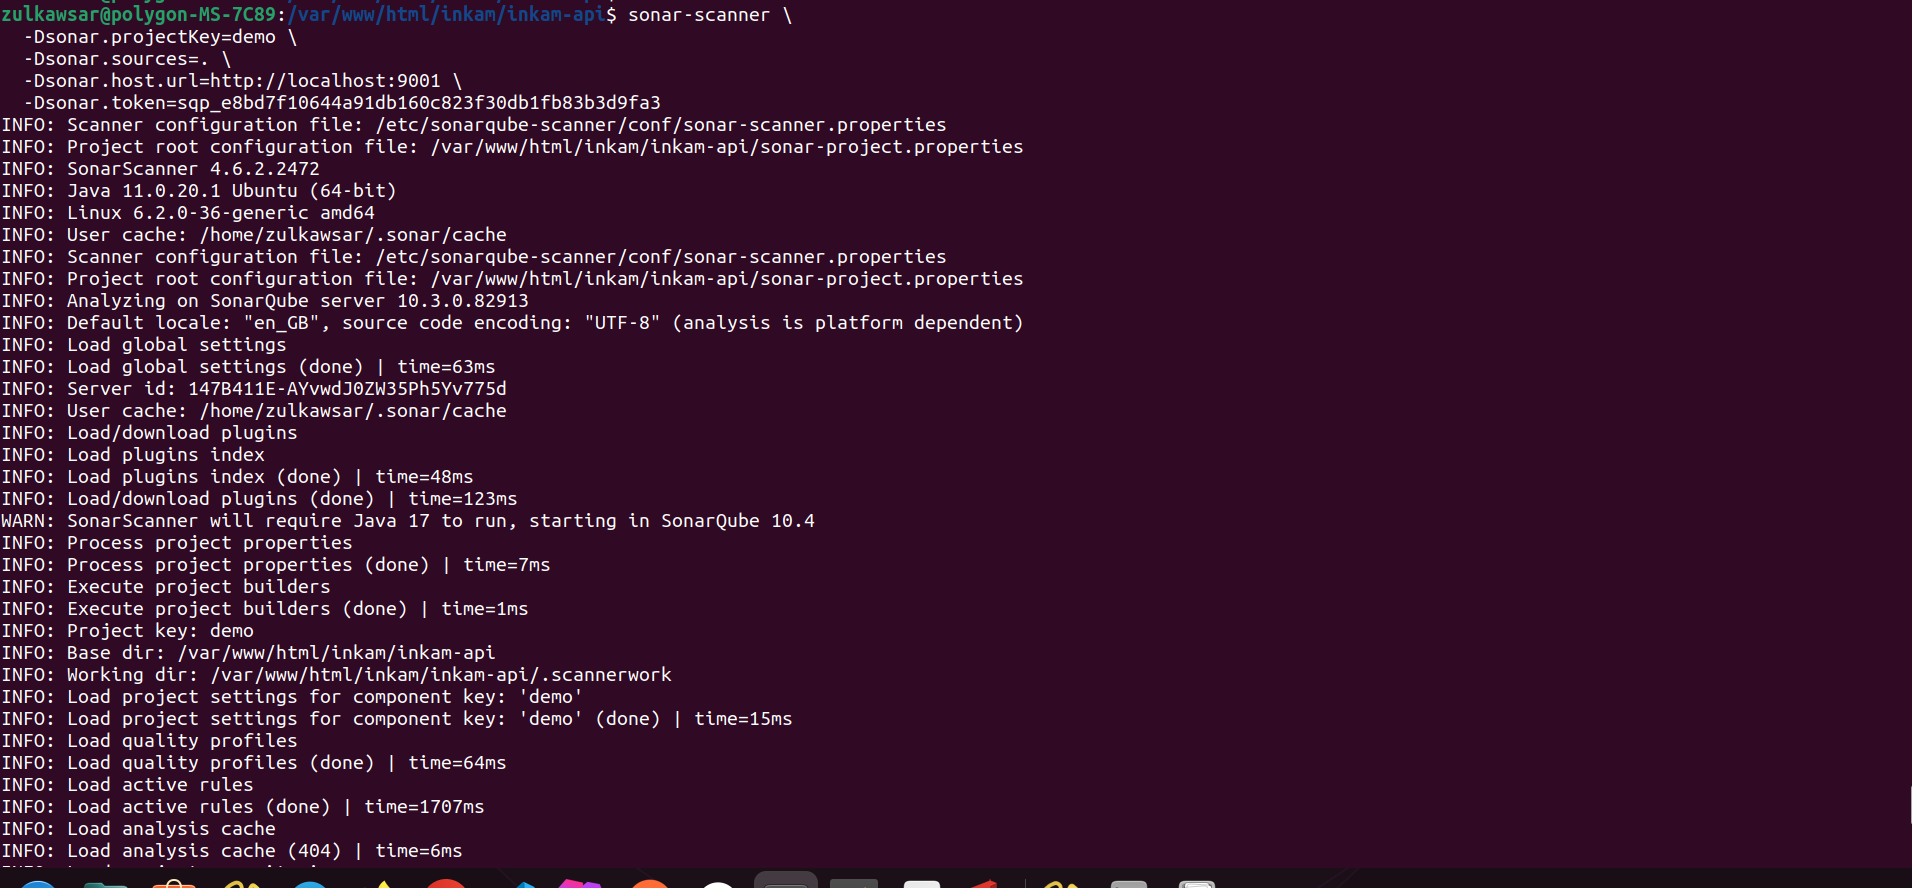
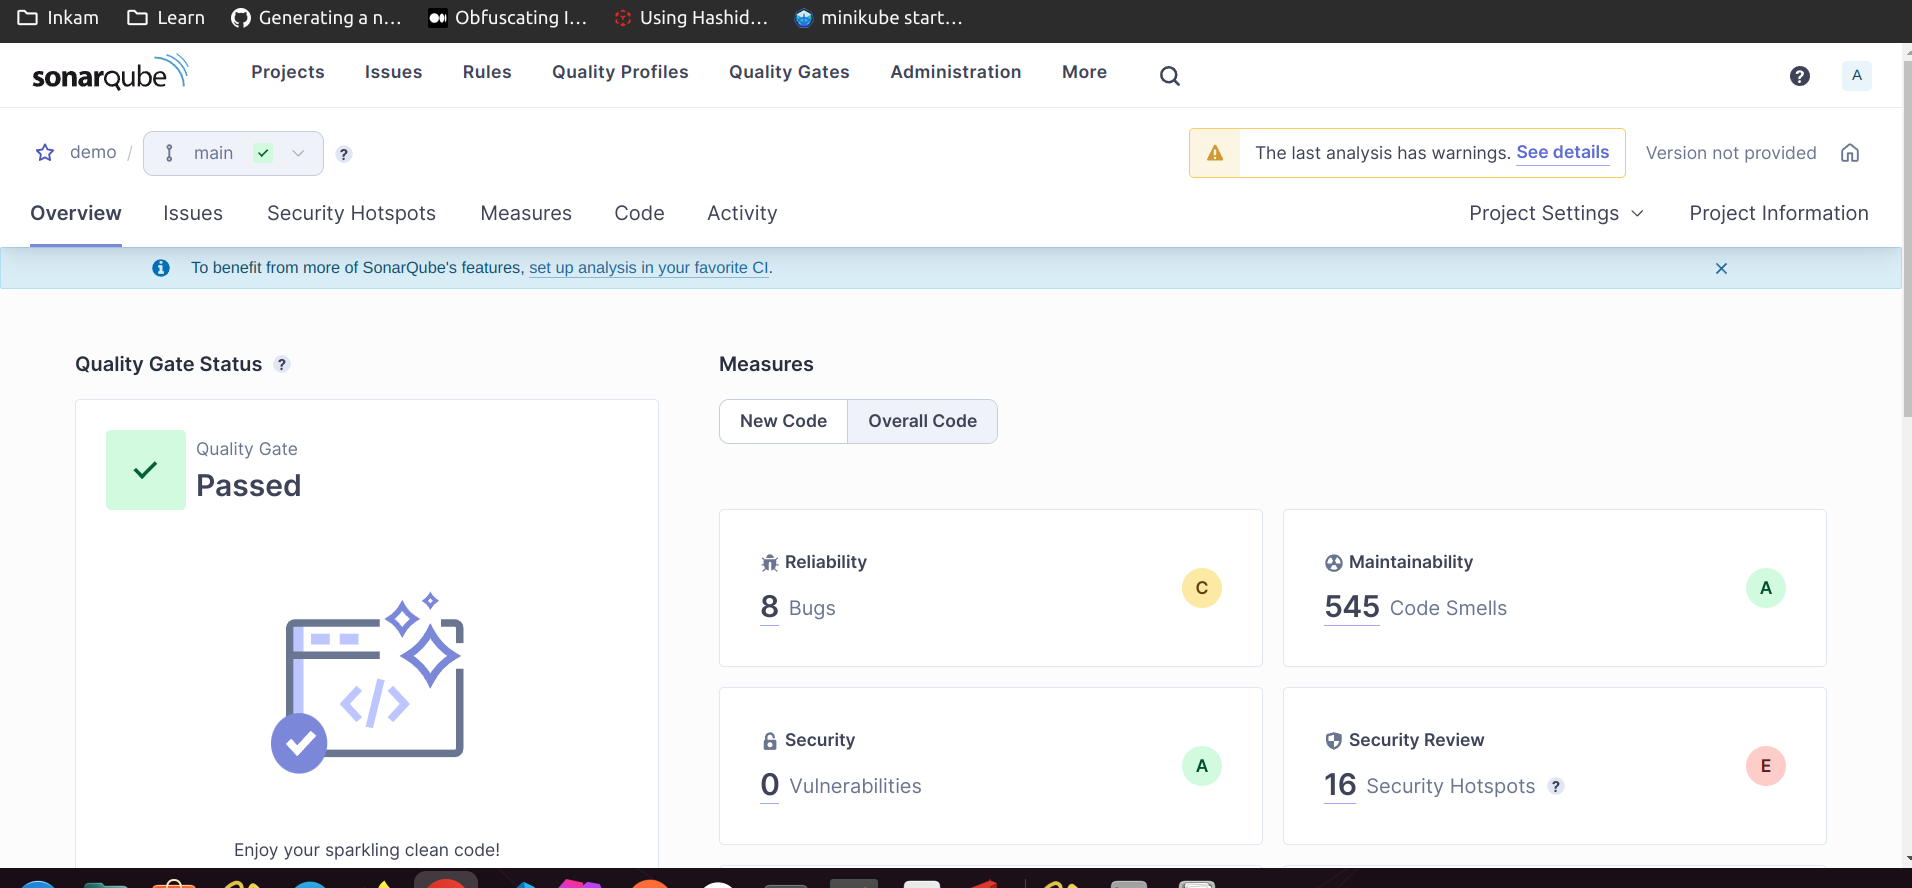
Congratulations! You have successfully installed and configured SonarQube for your Laravel project.
Tags :
We use cookies to ensure that we give you the best experience on our website. If you continue to use this site we will assume that you are happy with it.AcceptPrivacy policy